Sign in to follow this
Followers
0
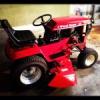
37 SD Deck Restoration Pics!
By
Kevbo, in Implements and Attachments

By
Kevbo, in Implements and Attachments