
Leaderboard


Popular Content
Showing content with the highest reputation on 12/19/2015 in Posts
-
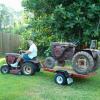
8 pointsI actually found this on a Craigslist ad. Use your horse to move the trash.
-
7 pointsLittle Johnny will long remember the brutal winter of 15-16...
-
6 points
-
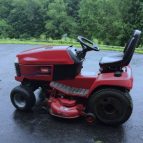
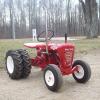
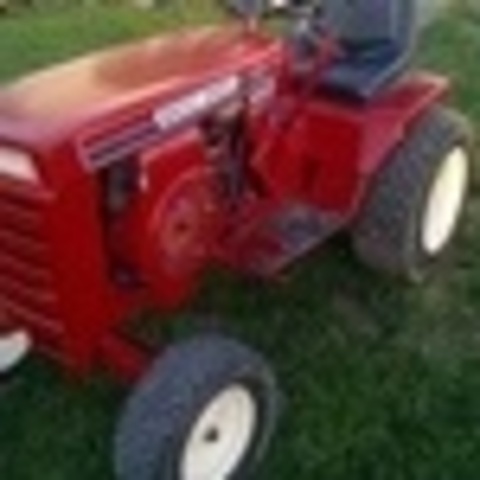
5 pointsYes !! This bad boy will be mine someday.
-
5 points
-
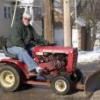
5 pointsCome on, snow, damn it!
-
4 pointsAt first glance I didn't notice the tire marks in the grass and just assumed it was a posed picture. Sure looks like that little green machine got a shove from the leader of the pack......
-
4 pointsHELP...I can't reach the pedals!
-
3 points20 degrees at 11:00 am, fired up the wood furnace in the garage and in about half an hour the coat was off and I was taking off both running boards and side panels on the '88 520H. Found mouse nest filled with mouse poison pellets on the brake pedal side and a ton of oily, dirt and grass covering and burying everything. Installed a new belt from motor to trans. on right side and then started cleaning up the mess on the other side where the mice had been. discovered the reason my park brake and motion lever return were not working. Rod going through frame to linkage was not connected and about 20 minutes later and several swear words I could push the brake pedal and the motion lever would return to the stop position and the park brake could be set and holds and even the dash warning light worked properly again. Found the steering block grease zerk you guys told me about by turning the wheel all the way to the right and greased the dickens out of everything again. Thanks every one for all your help and advice. My tach and charging system were repaired a few weeks ago as well from all your tips and knowledge. What a great day!!!!
-
3 pointsPicked this 520 up in St. Louis need paint on the 60 deck , but it runs great.
-
3 pointsAgree. I paid $1,500 for this 1982 SK-486. I just laugh when I walk through Home Depot and Lowes ... A 30 year old Wheel Horse is worth three times what is being sold in these stores and can be had for half the price.
-
3 pointsWe all know Wheel Horses are well built and made to last. At the risk of driving prices up, I suggest when selling a good condition Wheel Horse, put a price of half the original new price. That would still be a good deal IMHO. Compared to what is being sold nowadays, nothing compares to the quality and longevity of a Horse. I have gotten my herd down to 3 and, if I were to sell one of them, (not likely!) I would want good money just because of the quality of design manufactured into them to last indefinitely. The "newest" Horse I own is a 1979 and personally, there is NOTHING better out there than a good Wheel Horse.
-
3 pointsIt's beginning to look alot like Easter!!
-
3 pointsSeals are there, 1 side uses the needle bearing and the other a ball bearing, most commonly used on the suburbans. The seals bob posted are what you will need.
-
2 pointsU.S. House of Representatives calls for Impeachment of President Bill Clinton.
-
2 pointsSorry to hear... you're our first new canidate. Should look perfect on you in the gym.
-
2 points
-
2 pointsHay, what about Battleship Gray, or even Air Force Blue, we need to give some recognition to the other military branches.
-
2 points
-
2 pointsYeah but... oral sax doesn't count.
-
2 pointsLooks to me like he's saxting.
-
2 pointsThe GREAT CARNAC sees a Jimmy gotcha.
-
2 pointsHHHMMM...I see from his caption that JimD cites OSU as "Champions"...? I grew up in Ann Arbor, where there is a certain big rodent (Wolverine) that used to eat buckeyes for breakfast on the football field. Now... them rodents just munch oatmeal with their dentures off...
-
2 pointsCAPTION THIS... didn't work
-
2 pointsNo, they don't install like the axle seals but you don't need a special tool to replace them. Use a small screwdriver or pick to carefully pry them out. Make sure the shaft is burr free so you don't damage the new seal. Gently drive the new seal in place. I've used a chunk of PVC pipe to drive it squarely. You can use a appropriately sized deep socket and a flat washer or just use the drum or pulley.
-
2 pointsHello, welcome to the Forum. I filled all 4 of mine on my 854 with winter windshield fluid.. They already had tubes in them to begin with, so the corrosion of the rim and the tire dry rot were not problems. Well worth doing if you are going to plow snow - the rears used 4.5 gallons each, the fronts about 1 and a quarter gallons. Greatly improved traction and steering. Bill
-
2 pointsLooks like he's inhaling to me.
-
2 points@Hammerhead your army horse has gave me sum motivation to build my own military horse. I have a 633 that would be a good candidate for sum OD green and sum hard lines i'm just not sure how to go about fixing the giant hole in my hood but i'm going to give it a try
-
2 pointsGot the big ole u-bolts in the mail today. Went ahead and got the very ends of the subframe members drilled to accept them and then got the subframe officially mounted.
-
2 points
-
2 pointsHello Ron, I need a stop button for my early production RJ35. The one with the black stripe on the hood! The top pic you can see the tractor on the right and the open hole for that button! Thank you!
-
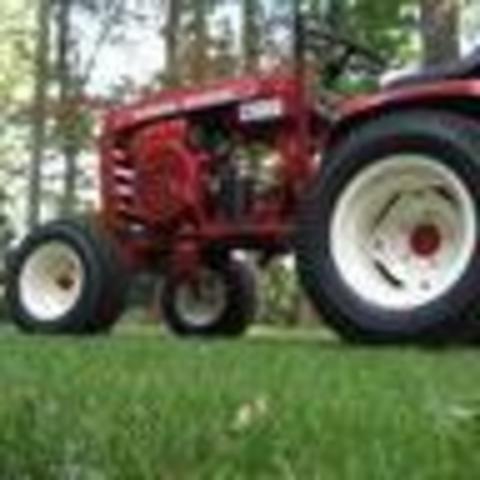
2 pointsThanks a lot Slammer for adding my Army Horse to this thread! I have the correct fuel bowl/filter set up on here too, it works great. I did away with the fuel pump on this unit since I couldn't locate a rebuild kit at the time. The copper looks great and works way better than rubber hose. You will need some copper fittings with o rings to seal it all up nicely. I used some more copper on the front bumper bolts, well they are brass with copper lock washers and brass nuts, hard to tell unless you see it in person. I put brass bolts with brass crown head nuts on the rear fenders where they bolt to the tool box too. I figured the Government would have built it that way, heavy duty! Plus it looks killer up close! I like to call it The War Horse! I have since added the official Army Numbers to it. Thanks again....KJ
-
2 pointsThis is a blatant act of anti-snowism. I have forwarded this to Homeland Security to alert them of the risk. Might get some folks added to the anti-snowism watch list. Just sayin'
-
2 pointsRuss, I am so sorry for your mishap. You are still capable of healing, and I pray that you will. You have been an inspiration to me and many others. Good luck and Godspeed.
-
1 pointOK ... I'm sorry!!!!! I got yelled at because I had no idea how this worked. I just jumped in with both feet, and I guess I should have read a bit first. So ... I'll start over on my own post, and not trash up other guys stuff!!! Background ... in 1978, I got a new D200 for my Dad at Jacks Wheel Horse in Sarver PA. First two pics are when it was new, one nice pic, one with my big butt in the middle of it!! Over the years, it was used to mow, plow snow, and spread lots of gravel and dirt. One hell of a machine, period!! It also served Dad well as a grandchild entertainment device!! It replaced an older 6hp horse, which we worked to death. One pic here is me pulling a single plow with Dad steering , or should I say LEANING on it!! Even with all his weight that lil 6 pulled it!! So fast forward to 2014 ... I'm on a shortlist, with major coronary issues. On full disability for awhile now, just waitin for the backhoe to show up! Too much truck driver food I guess!! I decided to look for a D200 to restore. I figured I could do that at my own pace, day at a time. I found a complete, but crappy unit down in Naples FL, for way too much $$$!!! I looked at cheaper units, but when I added the cost of missing parts, this one became a much better deal. It has a mower only, big unit, guy said it's a 60, but I didn't think they put them on 200's, they were 250 only, right?? Anyway, this is gonna be a cruiser only, so at some point, I am going to sell or trade off ALL the mower parts, including the PTO, jack shaft and lift cyl, and probably the valve body as well. First step was to tear it to pieces!! Fasteners in a parts wash bin, everything else piled on shelves awaiting their turn on the wire wheel / sandblaster table!! For many years, I traveled the country, every state except AK and HI by myself, just me, my truck, and a creatively written log book!! LOL Now, I'm not about to cruise the woods alone. But wait, the D200 is a single seater!! Not no mo!! The first part of this is an 18 inch frame stretch so I can have a place for my sexy red head to sit!!! The most troubling part was how to modify the transaxle drive tubes. My buddy suggested welding hose bibs on each tube, then connecting them with soft lines. Sounds good to me!! WOW, talk about an expert welder!!! Sweet job!! So that's done, well, not the lines just yet. Have to mount the axle, and pump to get the exact length. Not much room for error, as high pressure soft lines don't bend very well!! The frame pieces should be done next week, and I can start putting it back together and get the lines made up. Now don't get in a rush, it's 92-96 deg everyday here, and the garage is usually 15-20 deg hotter than outside. Lots of sweat, lots of Gatoraide, and lots and lots of naps!!! LOL Now, I have to tell you about my first Red Square experience. I had to hacksaw the steering wheel off, so I needed a new top for the shaft. Member Bill Price from AL responded to my cry for help. He cut off an old shaft he had, and sent it, along with some other cool pieces to me FREE OF CHARGE. That's just wrong! LOL If that's the kind of people that are common on here, well, this truly is a special place. Many thanks brother!!! You get first dibs on my spare part pile, which will be pretty big!! Stay tuned!!!!
-
1 pointVery nice! Grandsons love "their" 520 Stallion it's a Wheel Horse!
-
1 point
-
1 pointRuss was thinking of you today, I hope you're getting better.
-
1 pointIf you look at your input shaft seal, and it looks like it will fit on the brake shaft, then you need 2...if not you need the SKF 7410 because you have the needle bearing. Being a Suburban...it is very possible you may have the needle bearing, but it is not 100%. Let us know.
-
1 pointMy '88 520H has 7 zerks that I am aware of.... 1 inside each front wheel, 1 on each spindle, 1 on the axle pivot, 1 on the brake pedal, and 1 on the steering block. The knob is just a plastic sleeve that slips over the lever.
-
1 pointNot gonna happen this model is very dear to me for one specific reason, I was born 8/54
-
1 pointSorry to hear about your mishap keep your chin up Russ Jo and I will have you in our prayers Brian
-
1 pointMy wife would also hang something besides my balls to make a complete set.
-
1 point
-
1 pointIts the same machine as the XI series correct. I know the blue decks go right on a red machine. Nice score!!!
-
1 pointOh geez no Jim. Do they still make that stuff? My taste has matured. Natty Light now. I used to like Blatz too.
-
1 pointOK, garden tiller, stump grinder, ice chipper, ........and now PUMPKIN PIE MAKER WHAT'S NEXT ????????????
-
1 pointHahah! I know. I have no excuse either. I can't figure out why it posts them upside down. The tractor has a M20. Just ordered a louvre red hood, and LSE decals. I'll try this again...
-
1 pointActually, I was just messing around. It can be found down here for the folks heading north. $1.97 is a good price. Last November I headed out to northern Indiana. It was colder than normal (low teens) up there. I didn't remember until I got north of Indianapolis that I still had the bug wash in the washer tank that had no anti-freeze capabilities. I started squirting and squirting it to run the tank out and bought a gallon of -20 in Rochester.
-
1 pointIn my haste to give you a quick answer I gave you an inaccurate one and I figured I would correct myself before someone else does it for me. Yes. You should tighten up the collar. If you notice there is a small hole on the side. That is for using a drive punch to tighten the collar against the bearing. You should tighten it the direction it will be rotating when the blower is engaged. Sorry about that.










This leaderboard is set to New York/GMT-04:00